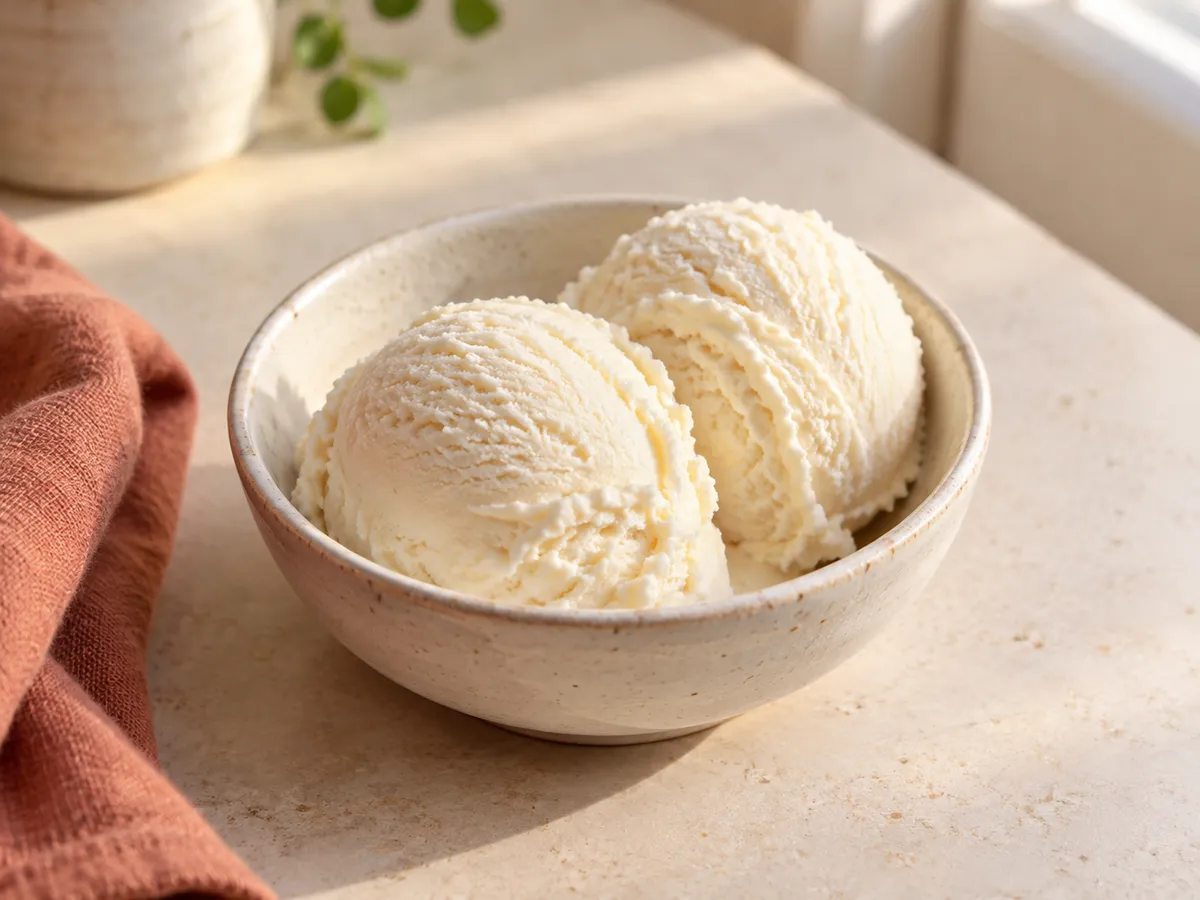
Soya milk, whey and a little xanthan gum. A starting point based on the ingredients you already use.
24 hr 10 minuntil ready
8 minhands-on for base batch
2 portionshalf a tub
1 batchbest served fresh
Freeze the base for at least 24 hours. Ready-in time includes freezing.
Method
Mix the base
Blend the cold ingredients in the NutriBullet for 30 seconds at its single speed. Stop and check, then blend for another 10–15 seconds if needed. Keep below MAX and split into smaller blends if necessary. Do not run continuously beyond 60 seconds. Weigh the small xanthan quantity accurately.
Freeze level
Pour into a compatible Creami tub below the maximum fill line. Fit the storage lid and freeze on a level surface for at least 24 hours.
Process
Remove the storage lid and assemble the tub, outer bowl, paddle and processing lid. Lock the bowl into the Ninja Creami. Select LITE ICE CREAM and let the automatic cycle finish. If crumbly, use RE-SPIN; if still dry, add 5–10 ml cold soya milk and RE-SPIN again, keeping below MAX. The extra milk is not included in the nutrition estimate. Never process plain ice or an uneven frozen base.
Serve
The base makes two dessert portions. Process one compatible tub at a time and divide the finished dessert equally.
Keeping the rest
Keep the base frozen. Follow your model's storage and reprocessing instructions for leftovers.
Settings are per batch. For 2 portions, prepare 1 batch. Split the ingredient totals between batches; keep the settings the same. Timings are starting estimates unless the programme sets them automatically.
NutriBullet
Use the extractor blade and a compatible cup. Add liquid first, then the other cold ingredients. Stay below MAX; split the batch further if it does not fit.
Control
Single speed · push down and twist to run; untwist to stop.
Blend time
30 sec, then check. If needed, blend another 10–15 sec. No heat setting.
The timing is a recipe starting point. Do not run continuously for more than 60 sec. Let the cup and motor cool before repeating; stop the blade before opening.
Use the compatible Ninja Creami tub, outer bowl, lid and paddle. Freeze the blended base level, below MAX, for at least 24 hours. Remove the storage lid before assembly.
Programme
LITE ICE CREAM · run one complete automatic cycle.
Texture check
If crumbly, select RE-SPIN. If still dry, add 5–10 ml cold soya milk and RE-SPIN again, keeping below MAX.
Temperature and speed
Automatic programme; no manual temperature, speed or processing time to set.
One tub holds the two-portion recipe. For four portions, freeze and process two tubs separately. Extra milk is optional and is not included in the nutrition estimate. Do not process plain ice or an uneven frozen base.
Estimated nutrition per portion and for the selected portions
Nutrient
Per portion
Total for 2
Calories
103 kcal
205 kcal
Carbs
2.2 g
4.5 g
Fat
3.7 g
7.4 g
Protein
15.0 g
30.0 g
Fibre
1.0 g
1.9 g
Copy macros includes the total for 2 portions. Estimates use ingredient weights in the stated preparation state. Optional extras are excluded; packet values may differ. How these are calculated
Reference values and assumptions
Whey protein powder. Uses the vanilla Impact Whey label as a reference. Fibre is assumed negligible because it is not declared. Your flavour or brand may differ. Source
Xanthan gum. Uses the supplier’s per-100 g xanthan specification as a reference; check your packet if values are provided. Source
Recipe notes
Use the compatible Ninja Creami tub and keep the base below MAX. Nutrition uses the reference whey and xanthan profiles listed below; your packet values may differ.